Sunday, November 23, 2014

Ambur Chicken Biryani | Ambur Special Biryani

Ambur Chicken  Biryani | Ambur Special Biryani is  a famous  biryani like Dindigul Thalappakatti Biryani  in  Southern India. The biryani is named after a place called ‘Ambur’  in Vellore District of Tamil Nadu.   This special biryani was first made during  the reign of Nawabs of Arcot in Vellore. You can see a lot of biryani stalls in Ambur and hence who ever crosses this place won’t  miss the opportunity of tasting this yummy biryani.
Now, about ambur chicken biryani, this biryani is usually made with seeraga samba rice. Another highlight in this biryani is using  freshly ground chilli paste for spicing up the biryani. But I have used chilli powder  instead of chilli paste and the taste was really awesome. I’m sure one who tastes this biryani won’t deny this fact.  
I usually prepare this biryani  in pressure cooker and I found no difference between dum biryani and pressure cooker biryani.  
This  recipe is  for Ambur Chicken Biryani using pressure cooker.
Ingredients:
  • Seeraga samba rice – 2 cups
  • Chicken – ½  Kg
  • Onion (Big) – 3 Nos (chopped lengthwise)
  • Tomato – 1 No.(chopped)
  • Green chilli – 3 Nos.
  • Curd – 1 cup
  • Ginger, garlic paste – 2 tbs
  • Chilli powder – 2 tbs
  • Turmeric powder -1 tsp
  • Garam masala powder - 1 tsp
  • Coriander leaves (finely chopped) – ¼ cup
  • Mint leaves (finely chopped) – ½ cup
  • Salt to taste

For seasoning:
  • Bay leaf – 1 No.
  • Cinnamon – 1 inch piece
  • Kal paasi – 2 Nos
  • Cloves – 2 Nos
  • Cardamom  - 2 Nos.
  • Fennel seeds – 1 tbsp
  • Oil -4 tbs
  • Ghee – 1 tsp (optional)

Method:
  1. Wash chicken very well in running water , cut it to required size.
  2. Marinate the chicken pieces with ½ cup curd, 1 tsp chilli powder & turmeric powder for 30 minutes.
  3. Take a pressure cooker, pour the oil and wait till the oil gets heated. Add the items given under “seasoning” one by one and wait until all these splutter to get the aroma from the seasoning.
  4. Add half the quantity of coriander leaves & mint leaves and sauté till nice aroma comes.
  5. Add onion and Green chilli (just break into 2 or 3) and sauté well until the onion becomes translucent.
  6. Add ginger garlic paste and sauté till it gets cooked well.
  7. Add finely chopped tomato and add some salt so that the tomato will get cooked easily and sauté till the tomato gets smashed well.
  8. Then add  the remaining chilli powder & garam masala powder and sauté till the oil oozes  out from the masala. Next, add the balance curd curd and sauté well until the mixture gets glossy appearance.
  9. Then  add the marinated chicken along with the marinade, sauté well. 
  10. Add required salt  and  2 cups of water, close the lid and wait for  2 whistles and 5 minutes in simmer.
  11. In the mean time, wash the seeraga samba rice and leave it as such after draining the water. It is sufficient if we do this part before 10 minutes of making biryani.
  12. Now open the pressure cooker, drain the chicken pieces and measure the gravy, add water so that the gravy+water =4 cups and keep it aside.
  13. In a separate pressure pan, add ghee/oil, sauté rice along with the balance coriander, mint leaves and the cooked chicken pieces.
  14. Then add gravy+water (4 cups) and  needed salt. You can check for spice & salt  at this stage and you can add if needed. Stir well and close the lid. Wait for 1 whistle, then simmer the flame for 3 minutes. Open the cooker after releasing the pressure slowly. Then follow the same procedure as we have done for all other Biryani Recipes.
Your delicious, hot, spicy  Ambur Chicken Biryani is ready to serve! I have served the biryani with onion raita and Egg Curry!!

Note:
  • You can prepare this biryani with basmati rice also with same ingredients & water measurements.
  • Use the fresh curd with the above measurement; if you are using a sour curd, reduce the quantity accordingly.


Tags: Chicken biryani recipe, Ambur Chicken Biriyani recipe, how to make Ambur Chicken biriyani at home, Chicken biryani with seeraga samba rice, Chicken biryani with jeera samba, jeera samba Chicken biryani recipe, seeraga chamba rice Chicken biriyani, jeera chamba Chicken Ambur Chicken biryan, with seeraga samba rice, Chicken biryani with basmati rice, Chicken biryani with raita andEgg Curry, Ambur Star hotel Chicken biriyani recipe, pressure cooker Chicken biryani recipe

Read more ...

Sunday, November 2, 2014

Purple Cabbage Poriyal | Purple Cabbage Stir Fry | சிவப்பு முட்டைகோஸ் பொரியல்

Purple Cabbage Poriyal  | Purple Cabbage Stir Fry | சிவப்பு முட்டைகோஸ்  பொரியல்  is a simple recipe. Usually, I use purple cabbage  for making colourful salad, but today I prepared this poriyal and tasted very nice with  Murungaikaikathirikai sambar.

Here is the recipe…
Ingredients:
  • Purple Cabbage (finely chopped)   ½ cup
  • Onion ( finely chopped) – 1 No.
  • Green chillies(slitted) – 2 Nos.
  • Coconut gratings – 2 to 3 tbsp
  • Salt to taste

For seasoning:
  • Oil – 1 tbsp
  • Mustard – 1 tsp
  • Urad dhal – 1 tsp
  • Curry leaves – few.

Method:
  1. Wash purple cabbage leaves well in running water , chop it fine. Keep it aside.
  2. Heat oil in a kadai and season with the items given “For seasoning”.
  3. Then add green chillies and onion. Sauté till the onion becomes translucent.
  4. Add the chopped purple cabbage  and sauté for about 2 minutes in simmer.
  5. Close the lid and cook for 2 minutes by stirring in between.
  6. Finally add salt, coconut gratings, combine well and switch off.

Your tasty Purple Cabbage Poriyal  | Purple Cabbage Stir Fry is ready to serve.
Note:
  • Don’t add water while cooking  because it will make the stir fry mushy. Purple cabbage tastes better while it is crunchy.

Tags: Purple cabbage poriyal recipe, Cabbage recipes, purple cabbage stir fry, Colour cabbage stir fry recipe, How to cook purple cabbage?, poriyal recipes, Side Dish Recipes, Simple side dish,simple stir fry using purple cabbage, சிவப்பு முட்டைகோஸ்  பொரியல்
Read more ...

Sunday, October 19, 2014

7 Cup Burfi | Seven Cup Sweet | Easy Diwali Sweet Recipe

7 Cup Burfi | Seven Cup Sweet | 7 Cup Cake is very  easy to make sweet recipe; need not worry about sugar syrup consistency for this burfi.   The ingredients used in this recipe measure about  7 cups and hence it has got the name.
Here is the recipe.

Ingredients:
  • Besan flour | Bengal gram flour – 1 cup
  • Sugar – 3 cups
  • Coconut  gratings – 1 cup
  • Milk – 1 cup
  • Ghee – 1 cup + 2 tsp

Method:
  1. In a heavy bottomed kadai, mix all the above ingredients without any lumps.
  2. Grease a burfi plate with ghee and keep it ready.
  3. Place the kadai on a stove,  cook the mixture for about 15 minutes, in medium flame by stirring often so that the mixture doesn’t stick to the bottom.
  4. Then keep the flame to low and keep on stirring. In the next 5 – 10 minutes,  the mixture starts pulling away from the sides of the pan. When  the mixture becomes thick enough and gets the burfi consistency, transfer this to the greased plate.
  5. When the mixture is slightly warm, mark the pieces with greased, sharp knife | pizza cutter.
  6. When it is cool, cut the burfis along the marked lines.

Super tasty 7 Cup Burfi is ready to enjoy for this Diwali!

Note:
  • After the sugar dissolves completely, you should not stop stirring the mixture; otherwise it will get stuck to the bottom.
  • You should pour the burfi mixture only when it is thick. If you transfer it before, it will be chewy like halwa.
  • I have used only 2 ½  cups of sugar but the actual recipe calls for 3 cups. You can do it either way as per your choice.

Tags: 7 cup burfi recipe, Easy Diwali sweet recipe, Festival Recipes, Easy sweet recipes, Seven cup cake recipe, seven cup sweet recipe, Besan Flour Recipes
Read more ...

Thursday, October 16, 2014

Karasev | Karachevu | Easy Diwali Snacks Recipe

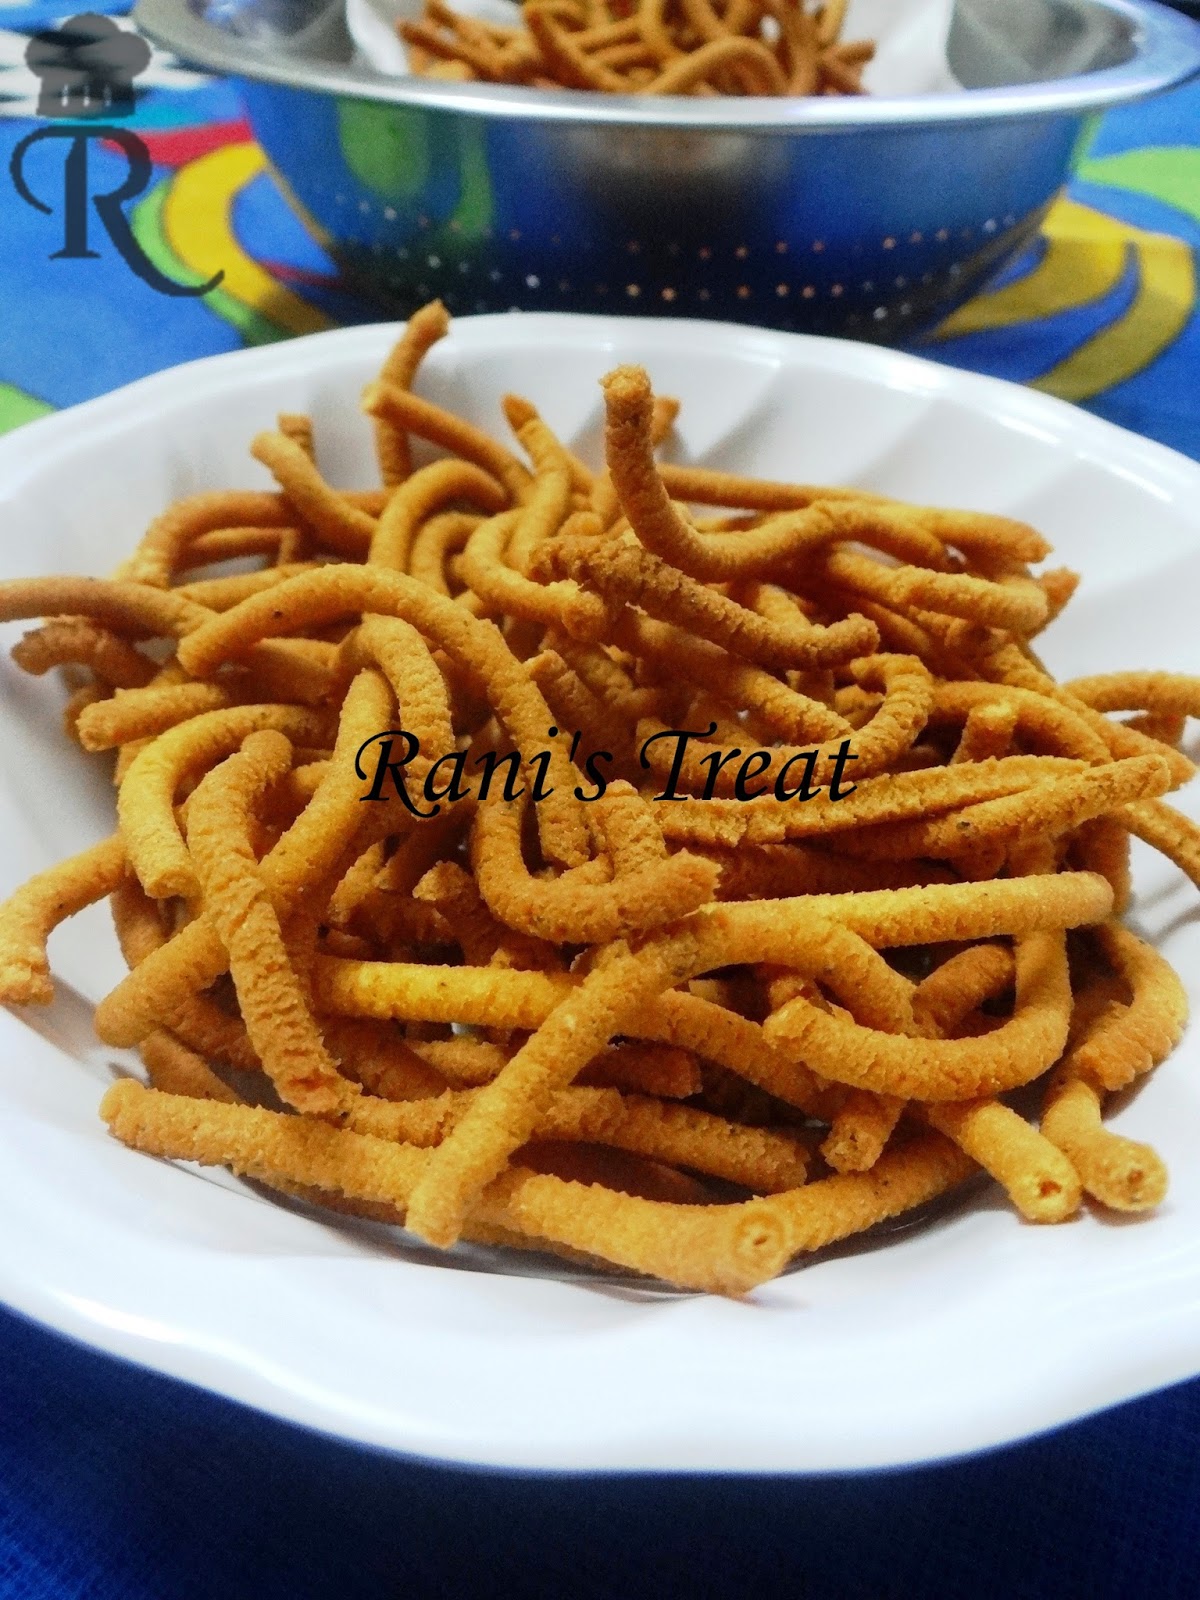
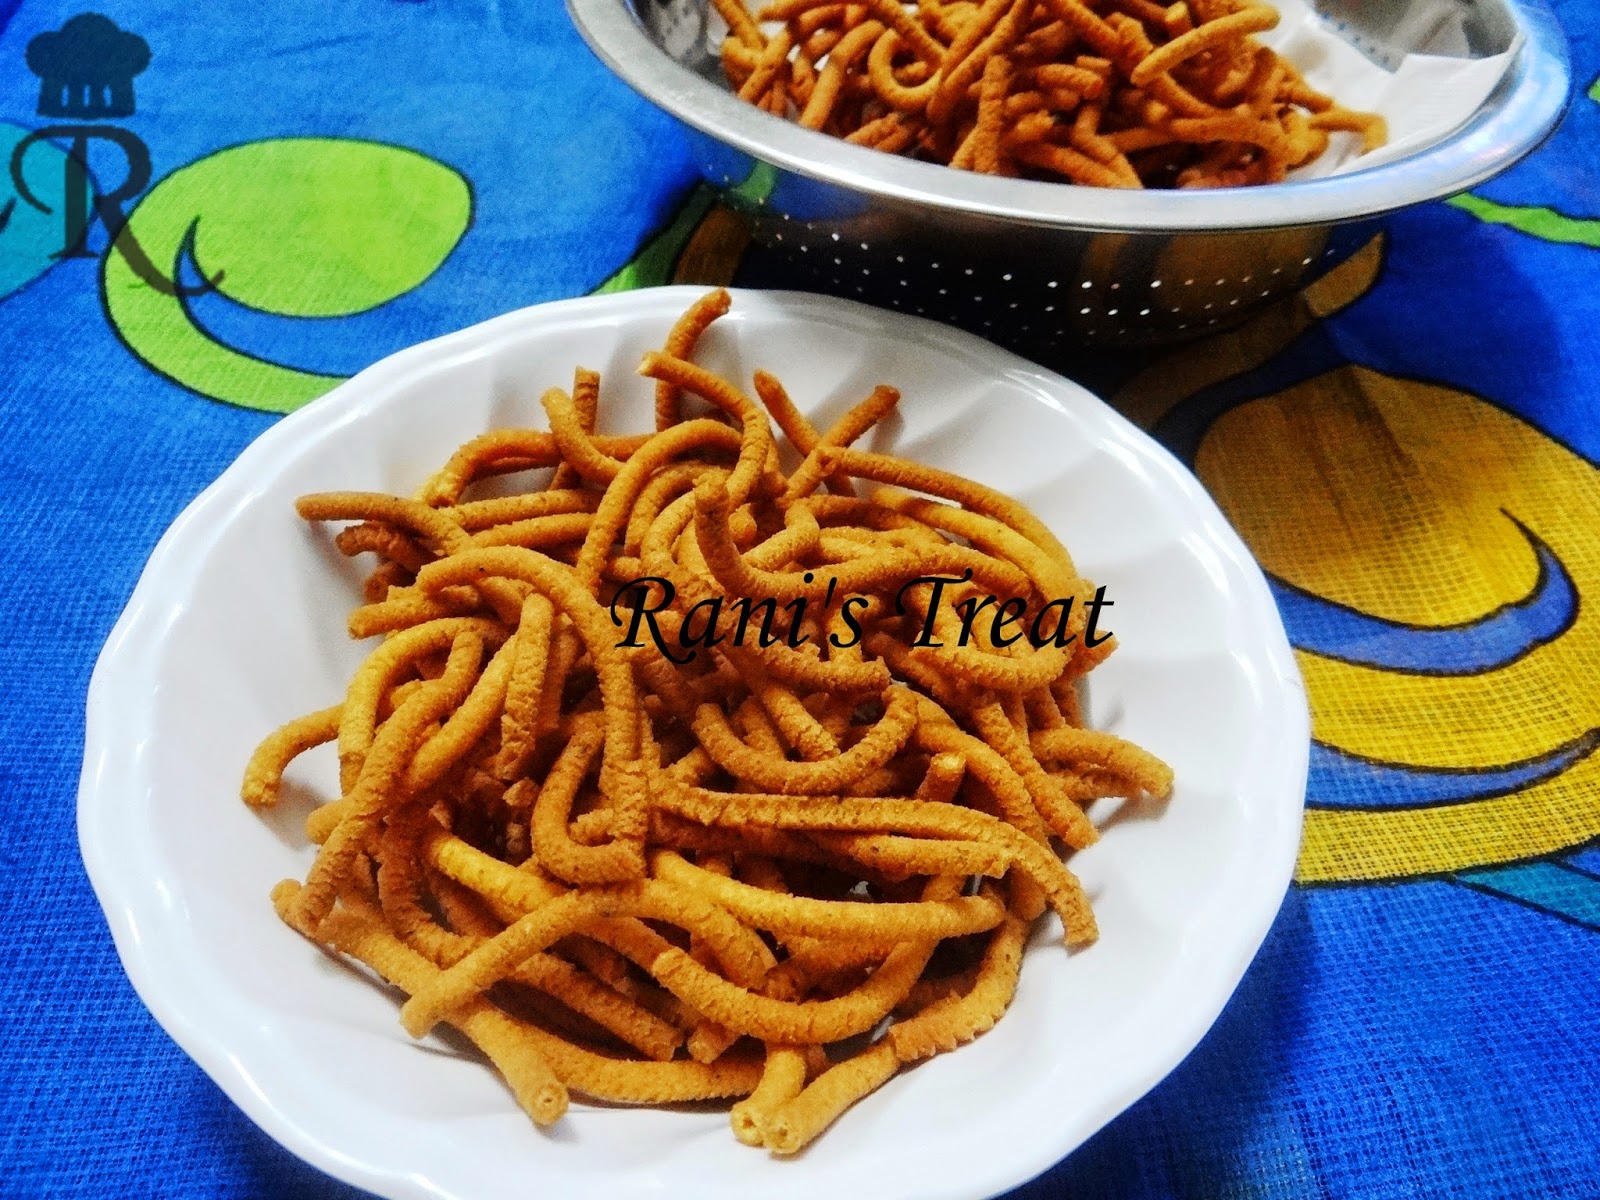
Karasev | Karachevu is a easy snack which could be made in a jiffy without too much of efforts. It is a South Indian deep fried snack  and can be made with store bought flours.
Ingredients:
  • Rice flour – 1 up
  • Besan flour | Bengal gram flour – ¾ cup
  • Red chilli powder – 1 tsp
  • Pepper powder – ½ tsp
  • Asafoetida | Hing – ¼ tsp
  • Jeera | Cumin seeds – 1 tsp
  • Turmeric powder – ¼ tsp
  • Butter – 2 tbsp
  • Salt to taste
  • Oil – for deep frying

Method:
  1. Sieve both the flours with a fine sieve.
  2. Add all dry powders i.e. sieved flours, chilli powder, pepper powder, asafoetida, jeera, turmeric powder  & salt and mix well.
  3. Now add butter at room temperature and crumble this with the flour.
  4. Add water little by little and make a soft dough like chapatti dough.
  5. In the mean time, heat oil in a broad kadai  and check by dropping a pinch of dough into the oil. If the dropped dough comes up quickly, then it is ready for frying.
  6. Grease the murukku press (with Thenkuzhal Achu)  with oil and fill it with the dough. Press the murukku press  directly into oil  in circles.
  7. Once the bottom is done, flip it to other side and take out when the sizzling sound subsides.
  8. Once it is cool, break into pieces  and store in an air tight container.

Spicy, crispy karasev is ready to enjoy with hot tea!

Note:
  • If you like to use baking soda, then you can add while sieving the flours.
  • Frying has to be done in medium heat.

Tags: Easy savoury recipe,  Deepavali snacks recipe, Easy Deepavali Recipes, Easy Diwali Snacks Recipe, Festival recipes, easy snacks recipe, Kara sev recipe, Karachevu recipe, Sattur Karachevu recipe
Read more ...

Wednesday, October 8, 2014

Wheat Coconut Boli | Thenga Boli | Wheat Sweet Poli | Kaayi Obbattu

Wheat Coconut Boli | Thenga Boli | Wheat Sweet Poli | Kaayi Obbattu is a flat bread  made with coconut filling. It is a traditional sweet made during festivals like Vinayakar Chaturthi, Bohi, Thiruvathirai, Aavani Avittam, etc.
Usually, boli is made using all purpose flour | maida but today, I’ve used wheat flour instead of maida and for sweetening, I’ve used palm jaggery. Moreover, I’ve used very little oil & ghee. But even then the bolis were so soft and  tasted  yum. 

Ingredients:
  • Wheat flour – 1 cup
  • Salt – a pinch
  • Water - as needed
  • Oil – 1 tbsp
  • Coconut gratings – 1 cup
  • Palm jaggery (crushed) –  ¾ cup
  • Cardamom powder – 1 tsp
  • Ghee – 1 tsp + 1 tbsp
  • Maida | All purpose flour – as needed for dusting

Method:
  1. In a mixing bowl, add wheat flour and a pinch of salt. Mix well. Add water little by little and make a soft, pliable dough. Then add oil, mix well and let it stands for 30 minutes.
  2. In the mean time,  melt palm jaggery in  ½ cup of water and strain the impurities.  Boil the strained jaggery syrup till it reaches bubble consistency and switch off.
  3. In a heavy bottomed kadai, add a tsp of ghee and sauté the coconut gratings for 2 minutes. To this, add jaggery syrup and sauté till it becomes thick in consistency. Add cardamom powder , mix everything well and allow it to cool. Make small lemon sized balls out of this filling.
  4. Also make balls out of wheat flour dough. Take a wheat flour dough ball and by applying oil on  hand, flatten it to form like a small bowl (சொப்பு/கிண்ணம்). Keep the coconut stuffing inside and cover this stuffing with the wheat dough by gently stretching the edges of the dough so that the filling should get covered completely. Repeat the process for rest of the dough also.
  5. Roll the above stuffed balls into thin, round discs using roller pin, dusting the ball with maida/ all purpose flour.
  6. Place the tawa/skillet on a stove. Let it get heated.
  7. Place the rolled boli on the heated tawa, wait for bubbles to come on the surface. Flip it immediately and leave it for a minute.
  8. Cook on both sides on high flame, flipping it now and then, by applying ghee on both sides and till it gets cooked completely.

Your soft, yummy Wheat Coconut Boli  is ready to eat!

Note:
  • You can use jaggery in place of palm jaggery and follow the same procedure.
  • You can add turmeric powder to wheat flour  while making dough.

Tags: Boli recipes, Healthy boli recipes, How to make boli using wheat flour? Wheat flour poli recipe, How to make poli using palm jaggery?, Kaayi Obbuttu recipe, festival recipes
  
Read more ...

Sunday, September 28, 2014

Easy Rasam Recipe | Rasam | Charu

Rasam | Charu  is a South Indian specialty and no  feast is completed  without this tangy, spicy delicacy. It can be had with hot steamed rice or can be had as soup | appetizer. Rasam is good to have during winter season. It is very good in treating common cold, fever and it aids digestion. Everyone have their unique way of preparing this rasam and this is my way J..
Ingredients:
  • Tomato – 1 No.
  • Tamarind – gooseberry size
  • Turmeric powder – ¼ tsp
  • Asafoetida | Hing – ½ tsp
  • Coriander Leaves | Cilantro – 3 tbsp
  • Salt to taste

To grind:
  • Pepper – 1 tsp
  • Jeera – 1 tsp
  • Garlic – 5 pods

For seasoning:
  • Ghee | oil – 1 tsp
  • Mustard – 1 tsp
  • Fenugreek seeds – 1 tsp
  • Red chilli – 1 No.
  • Curry leaves - few

 Method:
  1. Soak tamarind in a cup of water and keep aside.
  2. Mash tomato well in a cup of water. Bring this to boil with asafoetida and turmeric powder.
  3. In the mean time, grind coarsely the items given For Grinding, without adding water.
  4. When the tomato water boils, add the ground powder, tamarind extract and required salt.
  5. In a kadai, pour oil and season the items given “For Seasoning” and pour the seasoning over the rasam. When the rasam becomes frothy on top,  switch off.
  6. Add chopped coriander leaves, close it with the lid for 15 minutes and then serve.


Hot & peppery rasam is ready to be enjoyed with rice & any  veg | non-veg side dish of your choice!


Note:
  • Don’t allow the rasam to boil at the final stage.

Tags: Easy rasam recipe, South Indian Rasam recipes, Tomato-Tamarind rasam  recipe, How to make rasam without ready-made rasam powder?, Rasam Varieties
Read more ...

Thursday, September 18, 2014

In the Media....Malligai Magal

My Breakfast Recipe collection in Malligai Magal...
Read more ...

Sunday, September 14, 2014

Muttaikose Kadalai Paruppu Kootu | Cabbage Channa Dhal Kootu

Muttaikose Kadalai Paruppu Kootu | Cabbage Channa Dhal Kootu  is a tasty side dish prepared with cabbage & channa dhal.  When cabbage combined with channa dhal and freshly ground coconut masala, it tastes awesome with hot steamed rice, accompanied especially with rasam. It can be had with sambar as well curd or can even with be mixed with plain rice.

Here we go for the recipe!
Ingredients:
  • Cabbage (chopped) - 1 cup
  • Channa dhal | Kadalai Paruppu - ½  cup
  • Turmeric powder – a pinch
  • Shallots            (chopped) - 5 Nos.
  • Garlic (crushed) – 3 pods
  • Tomato            (chopped) – 1 No.
  • Red chilli powder – ½ tsp
  • Salt to taste

To grind:
  • Scraped coconut – 2 tbsp
  • Khus khus – ½ tsp

For seasoning:
  • Mustard – 1 tsp
  • Fennel – ½  tsp
  • Curry leaves - few
  • Oil – 1 tsp

Method:
  1. Clean, wash, chop cabbage and keep aside.
  2. Cook the channa dhal with turmeric powder  and water till 3/4th done.
  3. Add the chopped cabbage and red chilli powder. Mix everything well. Add little water, if needed, to cook cabbage. Cook covered for 5 minutes.
  4. In the mean time, grind the items given, to a fine paste by adding little water.
  5. When the cabbage is cooked, add the ground paste and required salt. Mix everything and keep it closed for 1 minute.
  6. Pour oil in a kadai and season with the items given “For seasoning”.
  7. Then add onion, garlic and tomato, sauté for a minute. add curry leaves and pour this seasoning over the kootu.
  8. Mix everything,  cook for a minute and switch off.

Your tasty, healthy Muttaikose kadali paruppu kootu is ready!!
Note:
  • I don’t prefer pressure cooking channa dhal since there is a chance of dhal getting mashed. If you are comfortable, you can use pressure cooker.

Tags: Cabbage Recipes, Kootu recipes, Cabbage channa dhal kootu recipe, Kosu kootu, Muttaikose kootu recipe, Muttaikose using channa dhal, cabbage with dhal recipe, Side dish for rice,  Diabetic recipes, Cabbage kootu using channa dhal, Cabbage kootu with kadalai paruppu, Muttaikose kootu with channa dhal, Kose kootu with kadalai paruppu
Read more ...

Tuesday, September 9, 2014

Chettinad Style Kathirikaai Masala Kuzhambu | Brinjal Masala Curry | Eggplant Gravy

Chettinad  Style Kathirikaai Masala Kuzhambu | Brinjal Masala Curry | Eggplant Gravy is a flavorful curry made with brinjals and  can be served with hot steamed rice as well as with our regular South Indian tiffin items. I need not explain much about the taste of this curry; once you prepare, I am sure everyone will love it.

Here we go for the recipe.
Ingredients:

  • Brinjal  –  5 Nos.
  • Onion (finely chopped) – 1 No.
  • Tomatoes (finely chopped) – 2 Nos.
  • Red chilli powder – 1 tsp
  • Corinader powder – 1 tbsp
  • Turmeric powder – ¼ tsp
  • Tamarind juice - 2 tbsp
  • Salt to taste
To grind:

  • Coconut gratings – 2 tbsp
  • Pepper – ½ tsp
  • Fennel seed – ½ tsp
  • Garlic – 2 pods
  • Khus Khus – ½ tsp
For seasoning:

  • Oil – 1 tbsp
  • Cinnamon – 1” piece
  • Fennel seeds – ½ tsp
  • Curry leaves – few
Method:

  1. Wash brinjal well, cut the stem , make four slits from the top  and keep aside.
  2. Grind the items given “To girnd” by adding little water.
  3. In a kadai, heat oil and season with items given “For seasoning”.
  4. Then add onion and sauté until golden brown.
  5. Add finely chopped tomatoes and mash well. Add all masala  powders and sauté till the raw smell of masala goes off.
  6. Add the whole, slit brinjals  and combine everything. Then add a cup of water & salt  and bring it to boil.
  7. Finally add the ground coconut paste, tamarind juice and allow to cook for about 10 minutes. Switch off  & serve.
Tasty Brinjal Masla  Curry is ready to serve. It tastes good with all rice varieties as well as for tiffin items. I have served this curry with hot steamed rice with keerai poriyal!
Note:

  • Don’t overcook the brinjal as it  gets cooked in short time.


Tags: Brinjal Curry Recipe, Brinjal masala kuruma, Kathirikai kuruma, Brinjal kurma, , Eggplant curry recipe, eggplant gravy, Kuzhambu varieties, Vegetarian curry recipes, Brinjal Recipes, Chettinad Recipes, Chettinad style kuzhambu recipes

Read more ...

Thursday, August 28, 2014

Karupatti Pidi Kozhukattai | Palm Jaggery Sweet Dumpling

Karupatti Pidi Kozhukattai | Palm Jaggery Sweet Dumpling is a steamed dumpling made with rice flour which is sweetened by palm sugar. This palm sugar is otherwise known as  karupatti | Panai Vellam. Palm sugar is supposed to be the most superior sweetener which has lots of essential vitamins, minerals, amino acids, etc. On top of it, it is the sweetener with lowest GI, so can be eaten by diabetic people too.

Ganesh Chaturthi is going to be celebrated tomorrow all over the world. This festival will never be complete without  these yummy kolukattais. I have already posted the recipes for Thengai Poorana Kolukattai & Spicy PidiKolukattai. I thought of posting varieties of kolukattais before Vinayaka Chathurthi but due to various reasons, I could not make that happen. Today, I tried to post the easy and healthy kolukattai and here comes the recipe for Inippu Kolukattai | Sweet Pidi Kolukattai using karupatti. 

Check out the link for preparing rice flour "How to prepare Kolukattai Flour"

Ingredients:
  • Rice flour – 1 cup or as needed
  • Palm jaggery (crushed) – ¾ cup
  • Water – ½ cup
  • Coconut gratings – ½ cup
  • Cardamom powder – 1 tsp
  • Ghee – 1 tsp

Method:
  1. Melt palm jaggery in water till it dissolves completely and strain the impurities using metal strainer.
  2. In a heavy bottomed kadai, pour the jaggery syrup and bring it to boil.
  3. To this add coconut gratings, ghee & cardamom powder and stir well.
  4. Slowly add the rice flour, keeping the fire in simmer and stir everything quickly. Stop adding the flour when it becomes like a chappathi dough.
  5. Allow it to cool. Knead once again.
  6. By applying oil | ghee on your hands, make a small ball out of the dough and press it with your fingers. Do the same for rest of the dough.
  7. Arrange the dumplings on a greased idli plate and steam it for 10 to 15 minutes.

Sweet & soft Karuppatti Pidi Kozhukattai is ready for Ganesha!
Note:
  • Rice flour quantity need to be adjusted since we cannot predict the water measurement in advance. It varies from rice to rice.

Tags: Karuppatti Kozhukkattai recipe, Vinayakar Chathurthi recipes, Kozhukkattai recipes, Kolukattai recipes, sweet dumpling recipe, How to prepare kolukattai with palm jaggary?, Ganesh Chathurthi recipes, Inippu Kolukattai recipe, Pidi kolukattai recipe, Sweet pidi kolukattai recipe
Read more ...

Friday, August 15, 2014

Vallarai (Indian Pennywort) Chutney | Vallarai Keerai Thogaiyal

Vallarai Chutney | Vallarai Keerai Thogaiyal | Vallarai Thuvaiyal  is a healthy chutney which can be enjoyed with soft idli or dosa. Vallarai keerai in Tamil is known as Indian Pennywort in English and Brahmi Booti in Hindi. The word ‘Brahmi’ appears in most of the Ayurvedic medicines. It is very popular and widely used in South Asia.
I know everyone knows about vallarai as a herb which will improve memory power. Other than this, vallarai is beneficial in treating diabetes, anaemia, tuberculosis, urinary infection etc. So it is good to include these leaves in our regular diet. The leaves would taste bitter but when it is combined with the right ingredients, we could prepare a tasty chutney | dip.
Here we go for the recipe…

Ingredients:
Vallarai keerai  – 1 cup
Urad dhal – 2 tbsp
Garlic – 2 pods
Shallots – 10 Nos
Red  chillies – 4 Nos
Asafoetida  - ½ tsp
Coconut (grated) – 3 tbsp
Tamarind – 2 pods
Gingelly oil – 2 tsp
Jaggery – a little (optional)
Salt to taste
Method:
In a kadai, pour a tsp of gingelly oil, add vallarai leaves and sauté till the raw smell of vallarai leaves out. Transfer the leaves to a plate and allow it to cool.
In the same kadai, fry  urad dhal  till it becomes golden brown in a tsp of oil.
Add garlic & shallots and sauté till you get nice aroma.
Then add red chillies, asafetida, coconut & tamarind. Fry for few minutes and allow to cool.
Grind the ingredients along with salt & jaggery(optional)  by adding little water. Transfer the contents to a serving bowl.
Your healthy Vallarai Chutney is ready to be served with hot steaming idlies or crispy dosas! You can also have this chutney for sambar rice, curd rice, etc.
Note:
  • If you want, you can temper with mustard and curry leaves in a tsp of oil.

Tags: Vallarai chutney, Vallarai Thogaiyal recipe, Mooligai chutney recipe, Herbal Chutney, Brahmi chutney, Thogaiyal with Vallarai Keerai,  How to prepare chutney using vallarai keerai?, greens chutney recipe, How to use vallarai leaves for making chutney?, Side dish for idli/dosa, Chutney recipe for hot idlies, spicy chutney recipe for idli/dosa, Vallarai Keerai Thuvaiyal Recipe, Healthy chutney recipe
Read more ...

Monday, August 11, 2014

Mushroom Masala | Dry Mushroom Curry

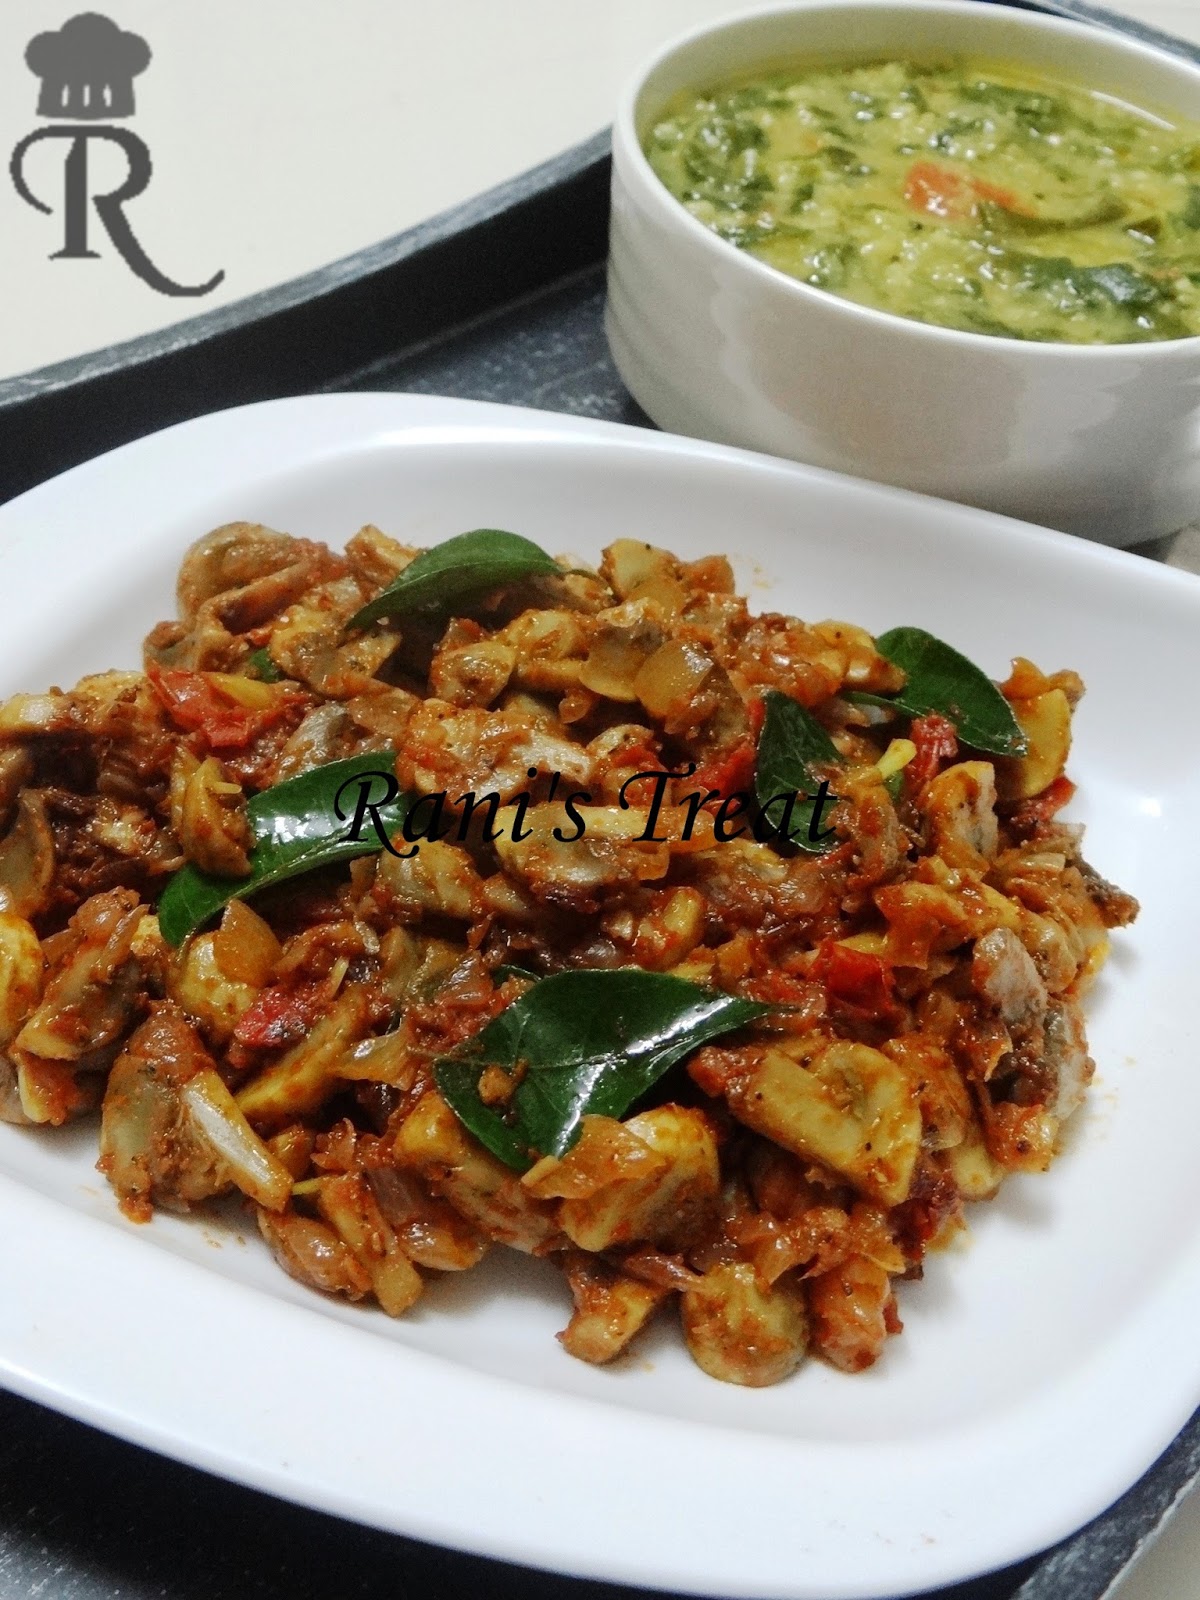
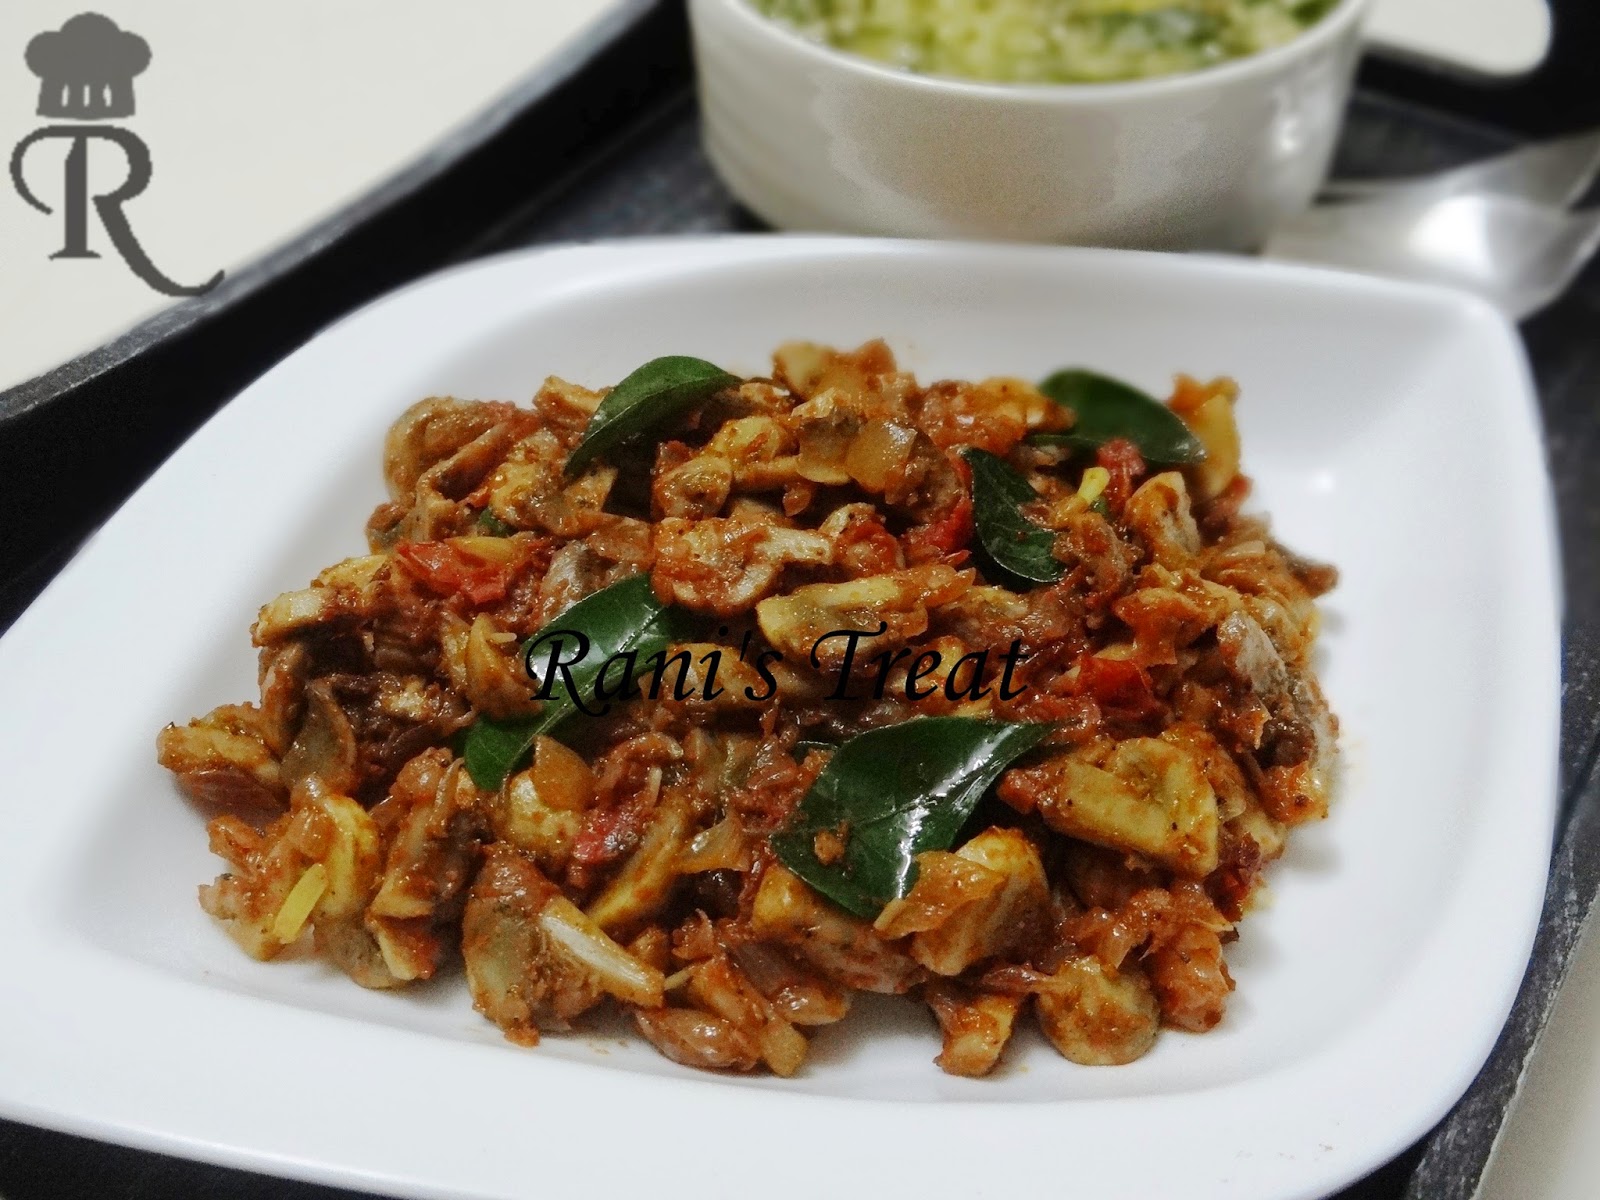
Mushroom Masala | Dry Mushroom Curry is a simple yet delicious curry which I made with minimum ingredients.  Mushroom always comes handy to make any meal yummy in no time. Also it has loads of protein and is a wonderful protein supplement for vegetarians. For non vegetarians, it is a good alternative since its taste is very close to non-veg items. So, this is a recipe everyone can enjoy trying at home.

Here we go for the recipe.
Ingredients:
  • Button Mushroom– 100 gms
  • Shallots (finely chopped) – 15 Nos
  • Garlic (finely chopped)  – 2 tbsp
  • Tomatoes (finely chopped) – 1 No
  • Red chilli powder – 1 tsp
  • Garam masala powder – ½ tsp
  • Turmeric powder – ½ tsp
  • Pepper- Jeera powder – 1 tsp
  • Salt to taste.

For seasoning:
  • Oil – 1 tbsp
  • Fennel seeds – ½ tsp
  • Curry leaves - few

Method:
  1. Wash the  mushrooms, cut them into slices and keep aside.
  2. In a non-stick pan, pour oil and season with the items given “For seasoning”.
  3. Add the finely chopped garlic and sauté till it releases nice aroma.
  4. Add shallots and sauté till it becomes brown in colour.
  5. Add tomato and sauté till it becomes mushy.
  6. Then add all the spice powders except pepper-jeera powder and sauté for a while.
  7. Now add the mushroom slices and sauté for a minute.
  8. Add the required salt and cook closed with a lid for 5 minutes.
  9. Open the lid, cook till the water from the mushroom gets shrunk to a thick gravy.
  10. Add pepper-jeera powder and sauté till the water gets dried out completely.

Tasty,  spicy Mushroom Masala is ready to enjoy! We had this yummy masala with rice & spinach dhal and it tasted yum J
Note:
  • No need to add water since the water released from mushroom is enough for cooking the mushrooms.
  • Don’t soak mushrooms in water while washing them

Tags:
Mushroom Masala recipe, Kadai Mushroom recipe, Chettinad style Masala Mushroom, Mushroom Curry recipe, Mushroom Recipes, Dry mushroom curry recipe, Healthy Recipes, Protein Rich Recipes, Healthy Side Dish, Restaurant style mushroom masala recipe.
Read more ...

Thursday, July 31, 2014

In the Media...Malligai Magal

My collection of recipes in Malligai Magal's "Top 25 Chettinattu Kaara Saara Unavukal"


Read more ...

Thursday, July 24, 2014

Spicy Idli | Masala Idli

Spicy Idli | Masala Idli is a spicy version of idli seasoned with onion, tomatoes and spice powder. It is an easy way to make our regular idlies interesting. Even people, who don’t like idlies, can hardly say “No” to this dish! It is easy to pack for lunch or even for a day out since there is no chance of getting messed up  with oily stuffs like chutney | idli podi. We can even make use of left over idlies from the morning to prepare this dish and serve it hot when the kids come back from school. My son is  a big fan of this dish and hence I prepare this with the fresh idlies whenever he likes to have.
Ingredients:
  • Idli – 5 Nos
  • Onion (finely chopped) –1 No.
  • Tomatoes (finely chopped) -  1 No.
  • Red chilli powder – 1 tbsp
  • Salt to taste

For seasoning:
  • Sesame oil | Gingelly oil – 1 tbsp
  • Mustard seeds – 1 tsp
  • Urad dhal – 1 tsp
  • Curry leaves - few

Method:
  1. Cut idlies into bite size cubes and keep aside.
  2. In a kadai, pour oil, season with the items given “For seasoning”.
  3. Add finely chopped onion till the onion becomes glossy in texture.
  4. Then add tomato and sauté till it gets mashed well.
  5. Add red chilli powder and salt required for the masala. Then add ¼ cup of water, mix everything and cook in medium flame till the masala consistency becomes thick.
  6. Add cubed idlies and mix well till the masala gets coated well with idli cubes. Cook in simmer for about 2 minutes & switch off.

Tasty, spicy  Masala Idli is ready to serve!
Note:
  • Carefully add salt i.e. only for masala because idli has salt in it.
  • If you use left over idlies, wet them before cutting into cubes.

Tags: Masala Idli recipe, Left-over recipe, left-over idli recipe, Idli fry recipe, seasoned idli recipe, Lunch box recipes, Kids recipes, Easy breakfast recipes
Read more ...